1. The puppy binkie
2. The cloth family picture book
3. The baby sling
4. The swaddle blanket
5. The tie-dye shirts and onesies
6. The transfer t-shirts
7. Corn starch finger paints
8. Homemade play dough
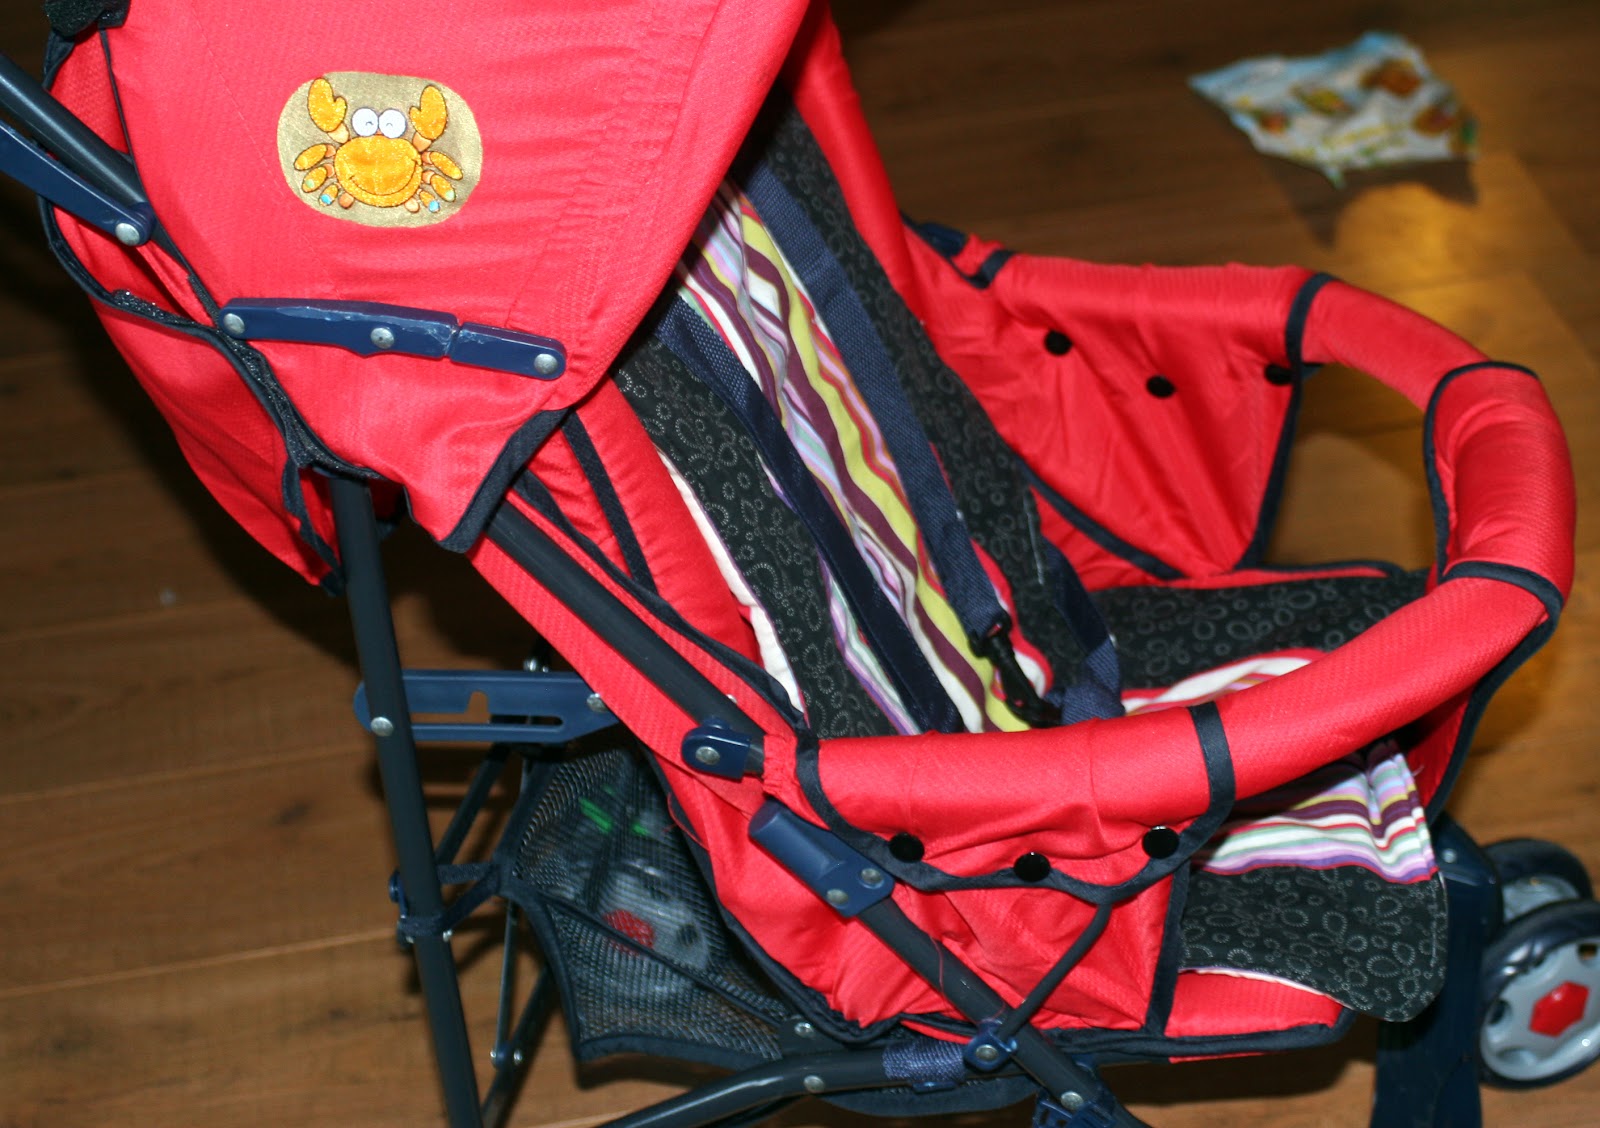
9. The stroller liner on the pimped out cheap stroller
10. The baby food
11. Eric's fondant birthday cakes
12. Cloth baby wipes
1. The bow-wow lovey or puppy binkie ;)


 |
| View from underneath |
2. The cloth family picture book (mentioned here)
 Kids like pictures, especially when they are pictures of people, and pets, that they know. They tend to be rough on books, though, so I decided to make a more baby friendly type book for Eric by making it out of cloth. It was really simple to make in the end. I used a simple, cotton fabric for the pages, and cut them into long rectangles so that when they are folded down the center, they become the perfect size for a page.
To make it all look finished, I used two rectangles for each page, sewed them together, right sides in, leaving a small area unsewed so I could flip them inside out. I finished sewing the open edge up, and I had one page finished. I repeated the same operation for the rest of the pages.

For the cover, I got a piece of old tablecloth, and cut two rectangles from it that were a bit bigger than the pages were. I used the same process to make the cover, but before sewing up the open edge, I put in a tab made from cloth, that I would use to hold the book closed. I sewed velcro to the end of the tab, and sewed the other part of the velcro to where it should close on the book. To keep it from being ugly, I cut the piece that would show on the book into a heart shape.
To assemble the book, I stacked the pages onto the cover and sewed them all together down the center; easy as that.
I filled my empty cloth book with pictures of Eric's family that were added to the book using iron-on transfers. The book included us, his grandparents, his cousin...
 Months later, he likes looking through them all, but what most captures his attention, is the pictures of the dogs. I'm not sure he'd be "reading" his book if it wasn't for them!!
3. The baby sling


5. The tie-dye shirts and onesies


6. The transfer t-shirts


7. Corn starch finger paint


8. Homemade play dough
9. The stroller liner on the pimped out cheap stroller


10. The baby food


11. Eric's fondant birthday cakes


12. Cloth baby wipes


